
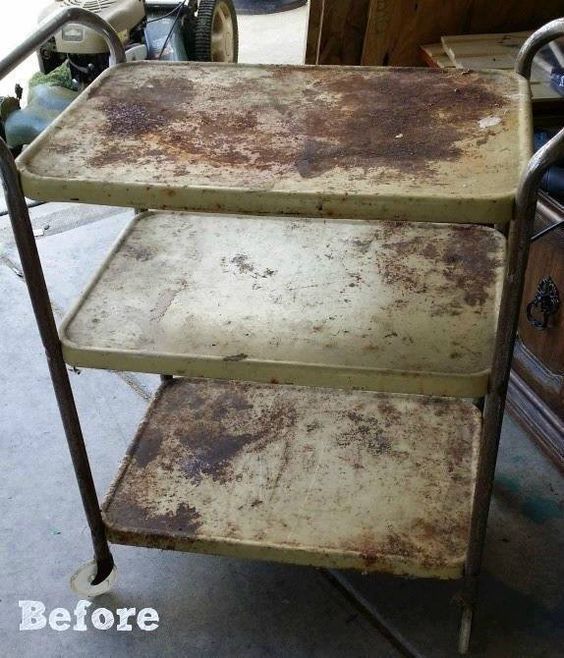
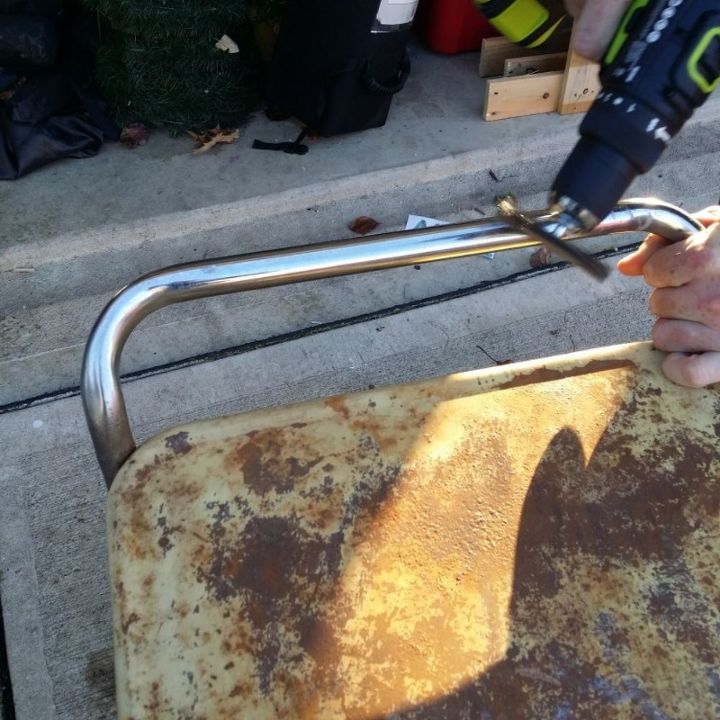
It’s really rusty but we just took an electric drill with a wire brush attachment to it and it took majority of it off. There are still some bumpy spots in places but Its nothing I can’t deal with.
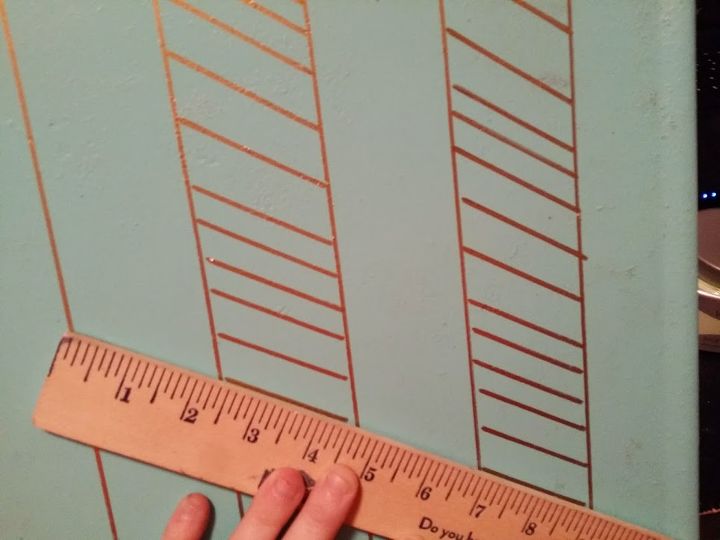
After we removed all the rust We primed and Spray painted the handles and the trays.I don’t have photos of this part but it’s pretty self explanatory. After everything dried I added a herringbone pattern to the trays using a gold Paint pen.
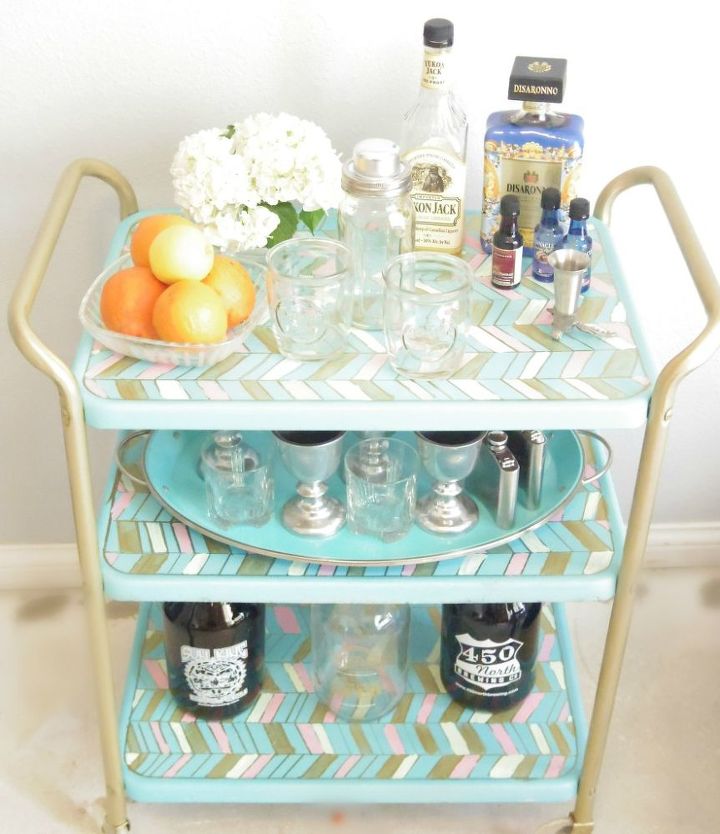
I then painted some of the spaces with Gold, pink, and mint. There wasn’t any rhyme or reason to the pattern I just did what I liked.
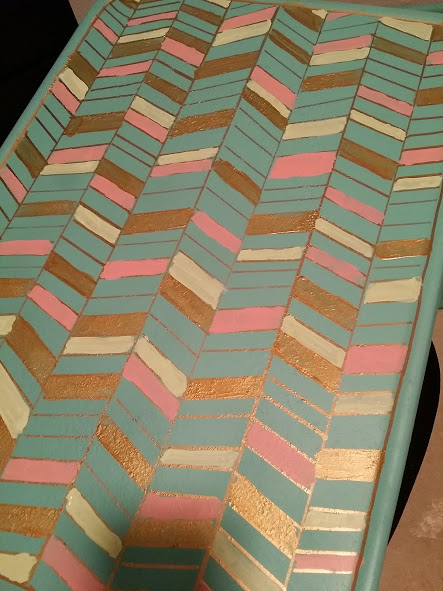
Then when the paint dried we assembled it and Voila! A beautiful bar cart for a total of about 10.00 (if you have to buy the paint) I already had all of the paint on hand so really it only cost me the 2.00 for the Cart! Score!
For more details and Photos just visit the link below.
Leave a Reply