
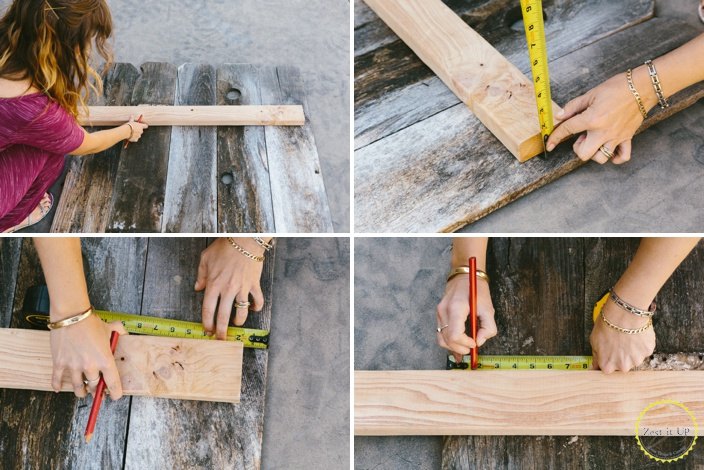
measure the width of the bookshelf with 5 boards across, so that I could create some support for the future shelves. I decided to cut my 2″X4″ support piece 1 3/4″ shy of the full width on both sides so that I could eventually attach another 2″X4″ piece at an L shaped angle for the side. If that is confusing, just check out the pix as we go!
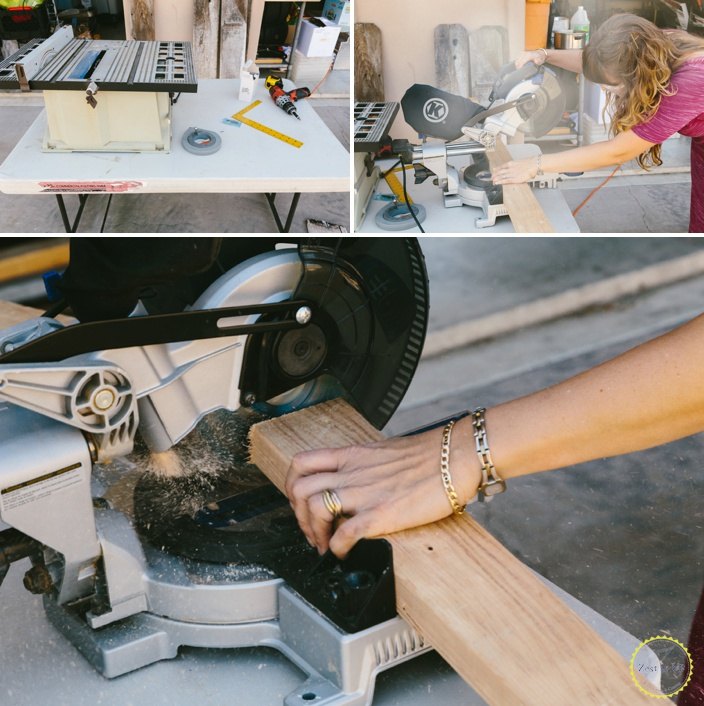
For the sides of my bookcase, I measured the same height, but I wanted them to be the width of 1 1/2 boards.
So I ditched the chopsaw for a tablesaw. Measuring out the mid section of the board, I sliced it in half.
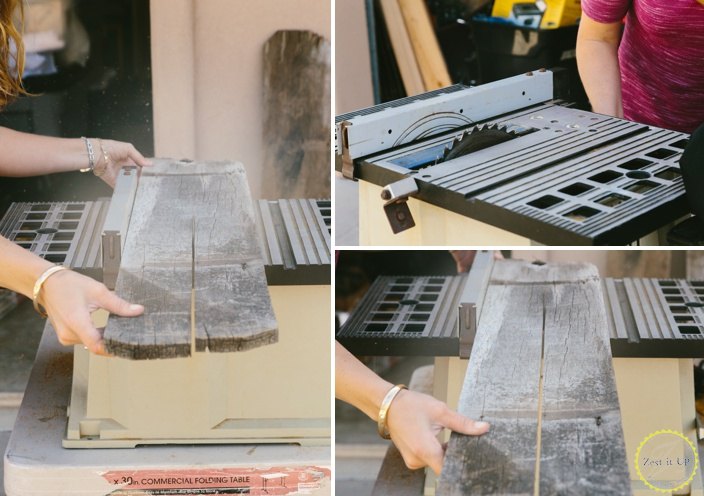
1 1/2 pieces gave me the perfect width for the sides of the bookshelf.
Click ‘Next Page (>)’ to keep reading and don’t forget to SHARE with your Facebook friends
Leave a Reply