
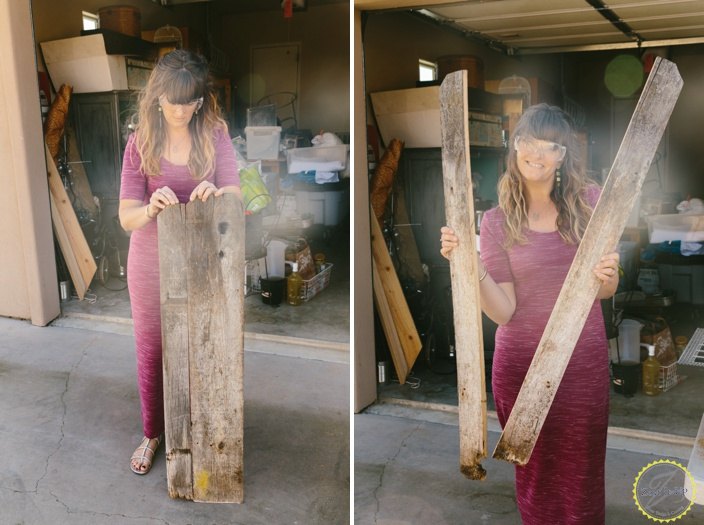
1 1/2 pieces gave me the perfect width for the sides of the bookshelf.
Since my main material had so much charm, I decided to spray my support 2″X4″ pieces with copper spray paint. I figured that since the two materials were so different, I might as well highlight them as opposed to try and mask the difference by trying to “age” the new 2″X4″ pieces.
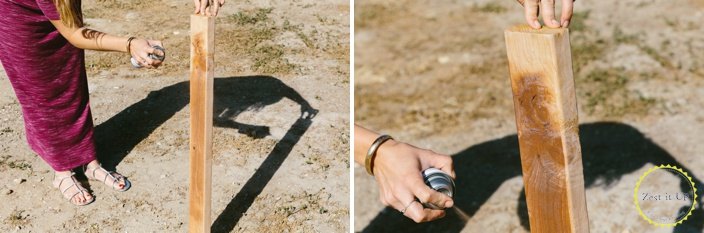
I figured that since the two materials were so different, I might as well highlight them as opposed to try and mask the difference by trying to “age” the new 2″X4″ pieces.
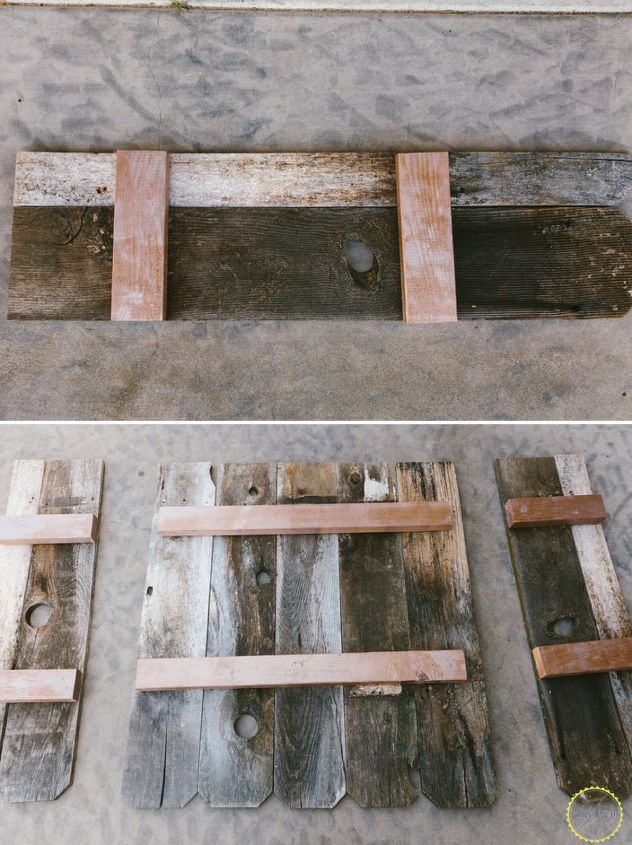
For the side supports, I measured the 2″X4″”s at exactly the same width.
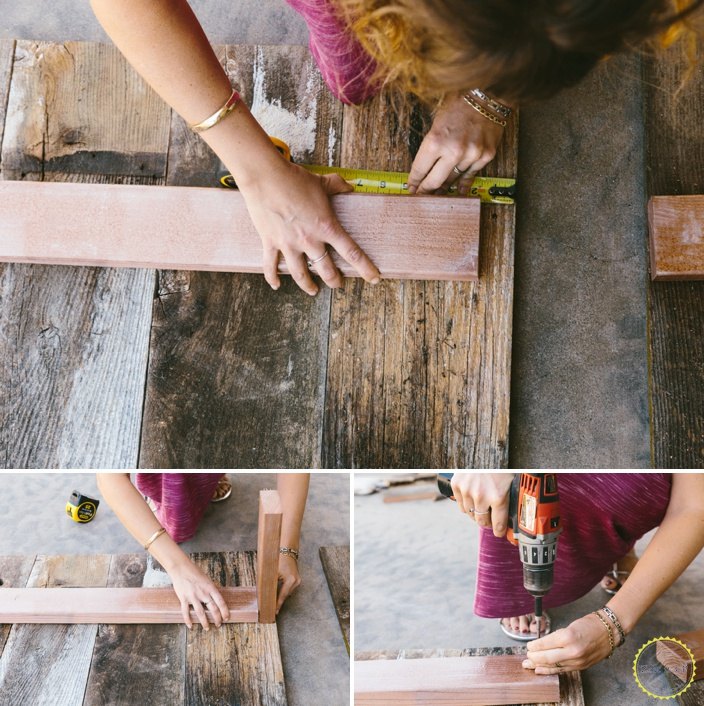
Double checking my measurements, I kept the boards 1 3/4″ from the edge on the backboard, and used wood screws to secure it to each board.
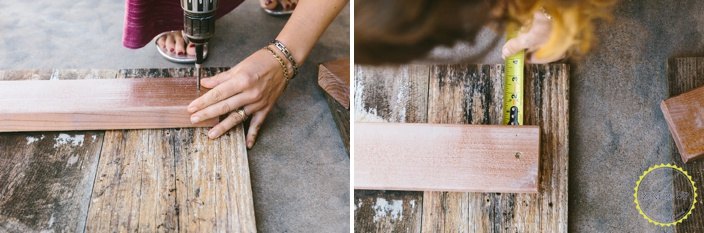
Yay! The L piece was going to fit perfectly! With that concern satisfied, I went ahead and secured the rest of the board. Make sure the check your alignment…you do not want a crooked board because that will in turn give you a crooked shelf. I measured from the bottom along the way, just the make sure it was all level.
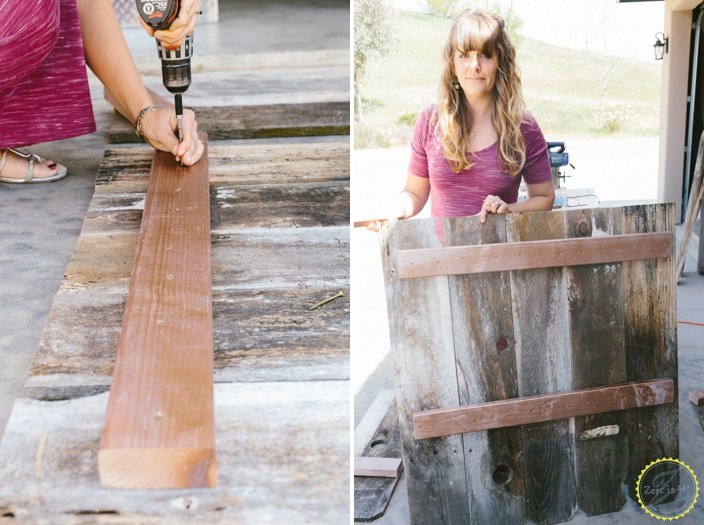
I am holding the back board upside down here, but you can see that the supports are secure, level and that the backboard is now a solid piece. Progress!!
Working from the back, I secured the L boards with wood screws.
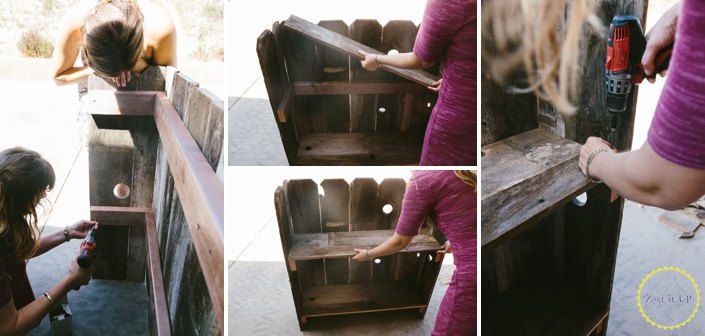
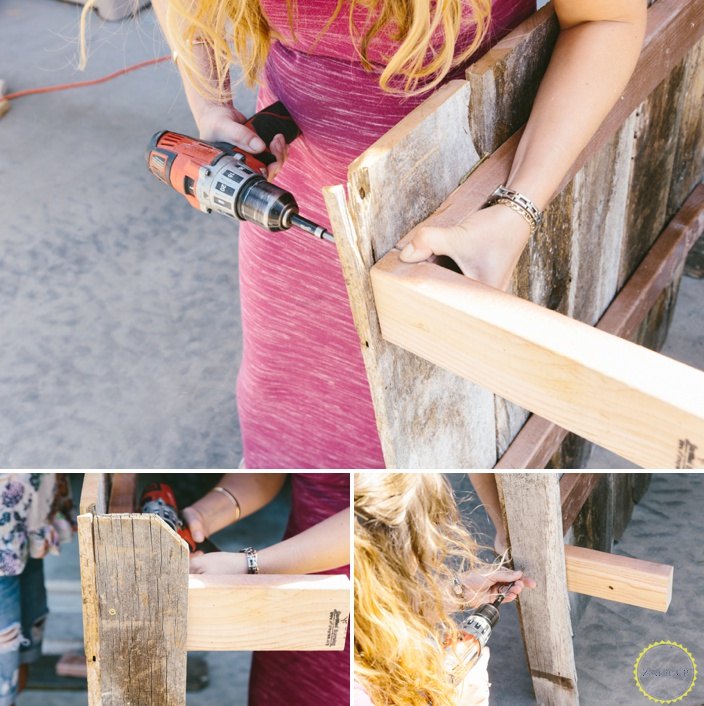
Now I simply attached the side boards to my L supports. This project was actually coming together pretty quick! With both sides attached, you can see how the supports for shelves now wrapped around the entire bookshelf. The last step was to simply measure out board for the shelves. Measuring across the inside gave me a quick measurement, but I needed to slice a board in half lengthwise because each shelf needed to be 1 1/2 boards deep thanks to my 1 1/2 board wide sides.
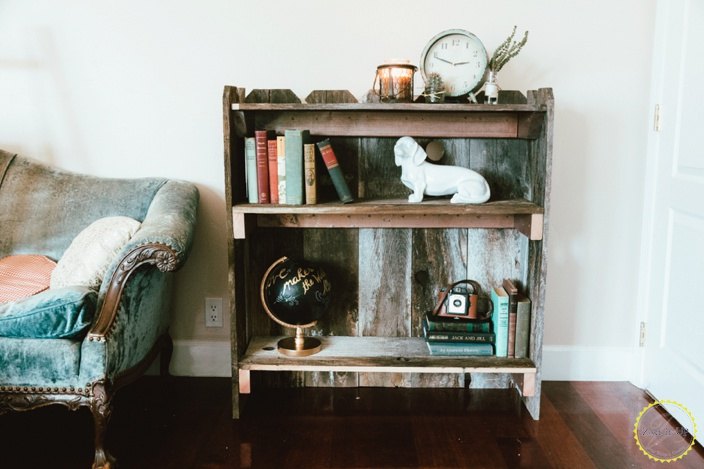
The very last step was to simply screw the board down into those copper support 2″X4″‘s. Super quick and easy! The only change up I made at the last minute was to add one more top shelf. Originally I figured that I would have just placed a board along the top and drilled it straight down into the backboards and sideboards….but then I realized that I would have missed out on seeing all those cute fence board tops. So, instead, I just cut some more 2″X4″‘s and created one more sunken shelf about 2″ from the top. I love how much instant character this piece has from the recycled fence boards. I think it is a toss up between the knot holes and the lichen as to what is my favorite detail. However, I am totally digging the copper supports as well!It was a lot of fun watching how fast this came together and then getting the instant gratification of styling it! Yay for Spring!!!!Cheers to rustic home decor and organizing!!
xoxo,Chanda
Original Blog PostPhoto Cred: Jessica Helton
Leave a Reply