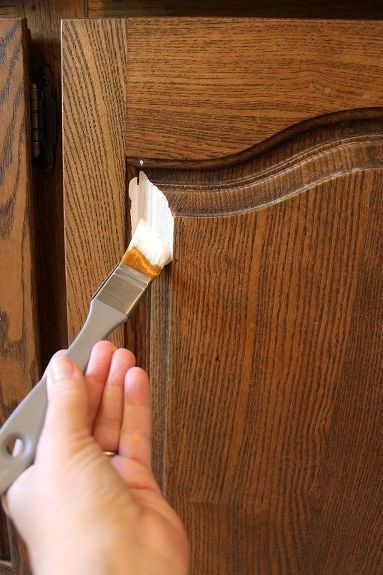
Be careful of drips in the corners. This paint doesn’t drip or sag very easily, but you still have to watch where the most paint accumulates.

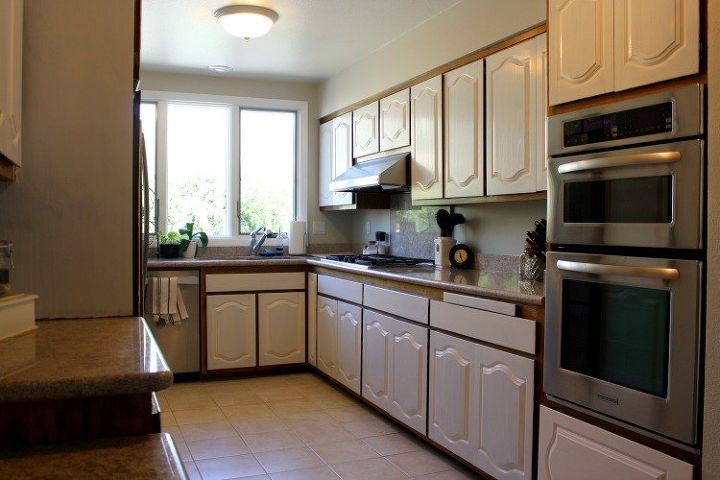
This is how the kitchen looked while I was painting the doors. Not too bad!

Then I took the doors off to can paint the frames. Be sure to label your doors BEFORE you remove them! And check out my blog post for tips on the easiest way to keep track of which door goes to which cabinet.

While the doors are off, you can more easily reach the sides to paint them. I decided not to paint the insides of the doors or cabinets.

Here’s the finished product. A fresh coat of paint even made my granite look better!

I added white hinges and silver pulls from DL Lawless hardware to dress up the cabinets and hide the hinges a little.

I couldn’t be happier with how these cabinets turned out. I used about 10 jars of paint, and 4 jars of stainblocker.

It’s never easy taking on a kitchen refresh, but this method made the whole process easier. I didn’t have to rip up the whole kitchen, store everything from my cabinets somewhere else, and clean up layers of sanding dust. Just clean, prime, and paint.Be sure to check out the full blog post for all my tips and tricks to make it even easier.P.S. It’s been about a year now and I’m thrilled with the way this paint is holding up to everyday use!

Leave a Reply