
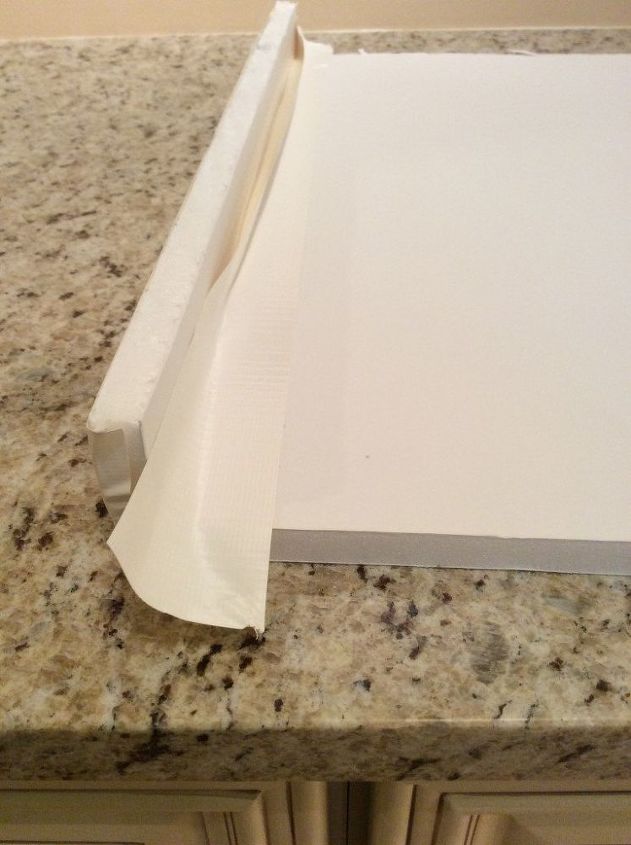
Taping the sides on
Two, 2″ pieces made the sides, which is how I attached the cornice to the walls. I duct taped the sides on

Then I stapled batting over the cornice. I wrapped the ends first and then the top and bottom, but I think you could do it either way.
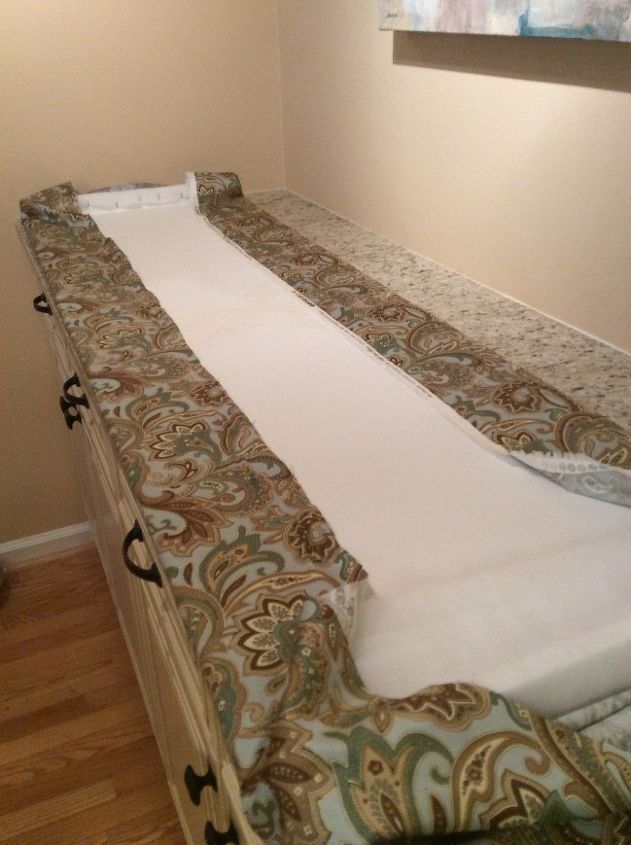
Attaching the fabric was fun!
For the fabric I stapled the top and bottom, pulling taut and then the ends. The corners were a little messy from the back, but I couldn’t see that being a problem.
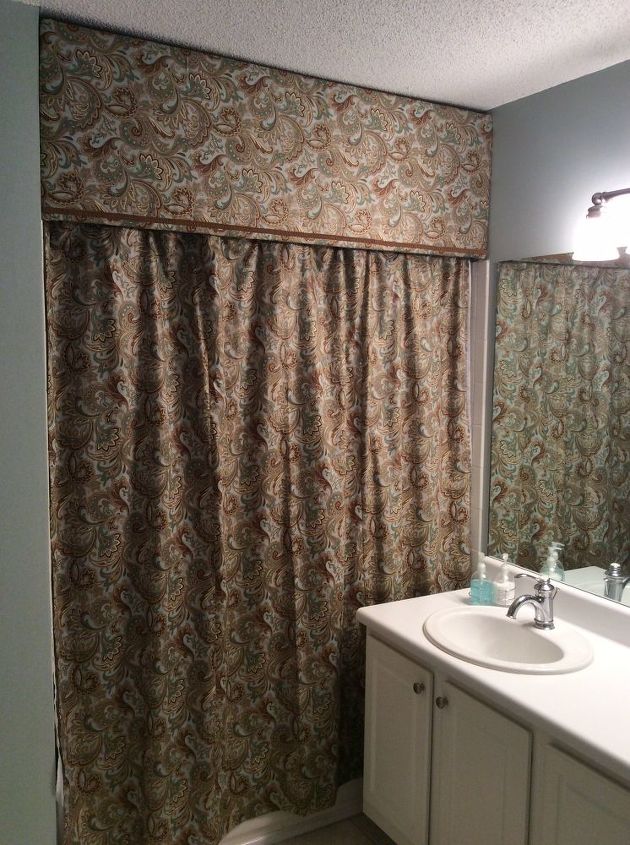
Finished product!
I attached that brown braid with Fabri-Tak and then nailed the ends to the walls. Since it’s made from foam it was really lightweight.
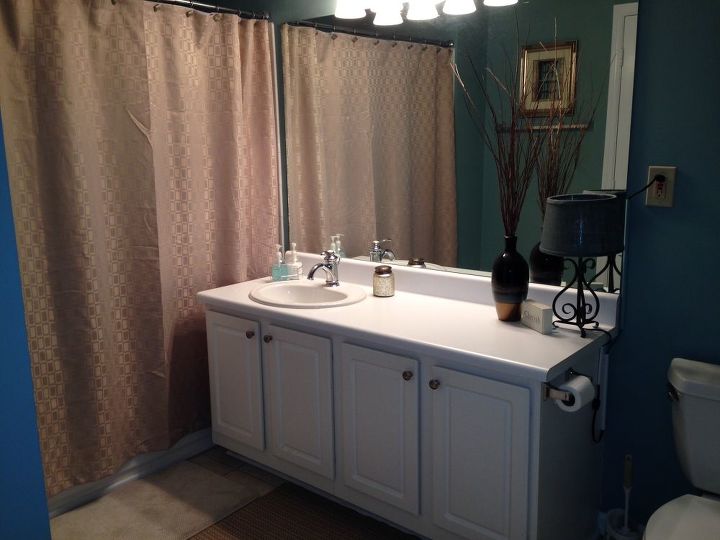
Before — ugh
That was it! The condo sold quickly. I’m not saying it was because of the awesome shower curtain and cornice, but it certainly didn’t hurt.
Leave a Reply