
Trending videos

Here is the pie tin after three coats and a light sanding to level some brush strokes.
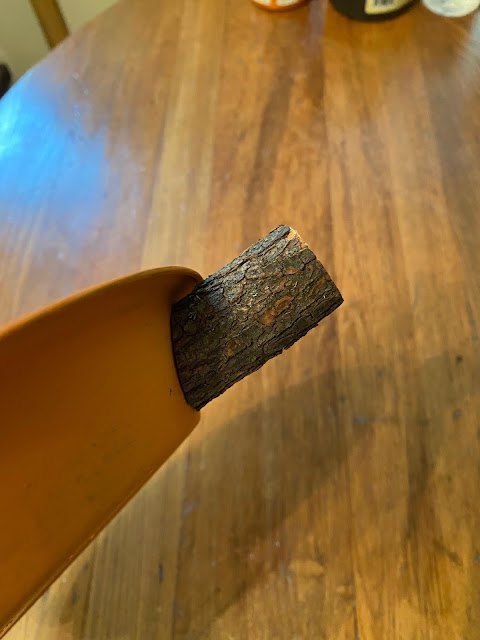
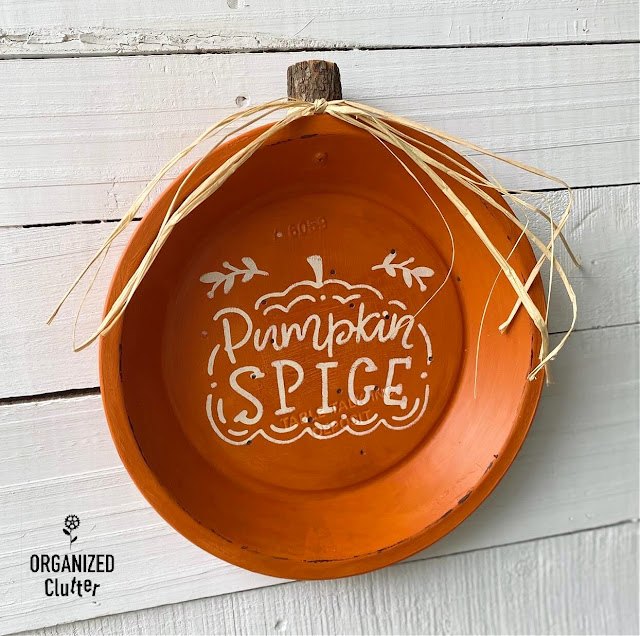
Next another of my tree branch “stems” was cut on the diagonal on the chop saw to fit the pie plate back angle.
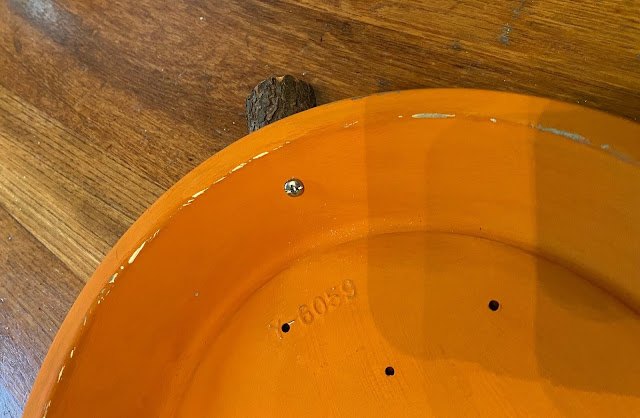
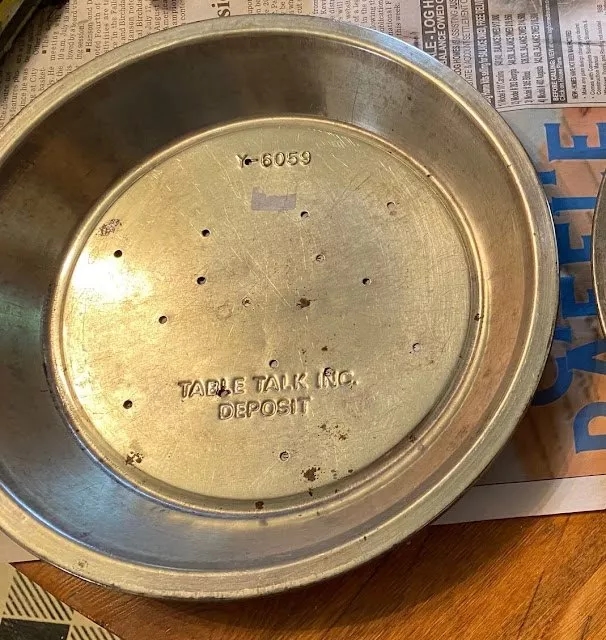
The “stem” was screwed onto the pie tin. I distressed the edges of the pie tin with sandpaper, but didn’t like the shiny metal showing through the paint.
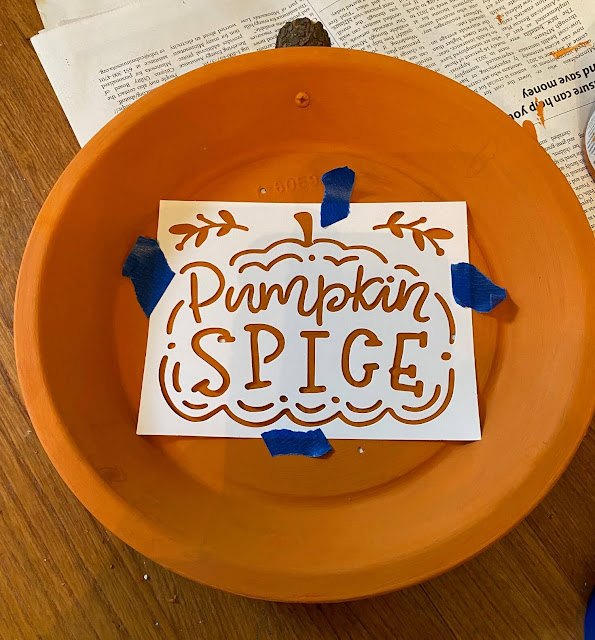
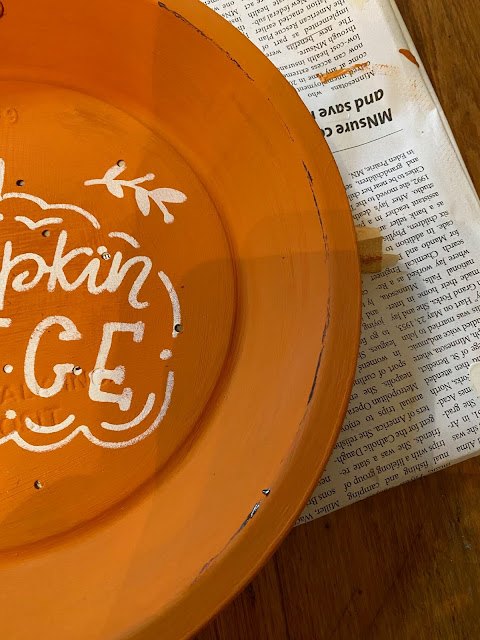
Last year I found a package of Tulip Colorshot fall fabric stencils at Joann Fabrics. They are small paper stencils that Tulip suggests work with spray paint on clothing. I don’t know if they are available in the stores this year or not, and any small pumpkin stencil would work. I taped the stencil onto the pie plate bottom with blue painter’s tape, and pounced on the stencil with Fusion Mineral Paint in Raw Silk.
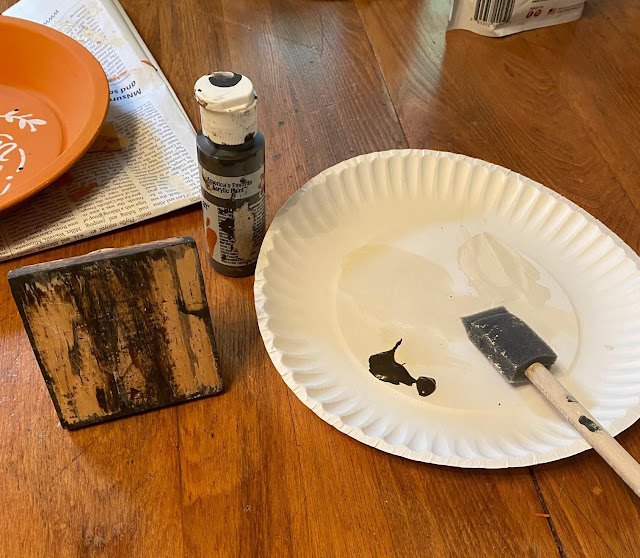
I touched up the shiny metal distressed edges of my pie plate with more orange paint, and pulled out my FolkArt Layering Block to add faux distressing. I squirted a small amount of Ceramcoat Walnut Noyer Craft Paint on a paper plate.
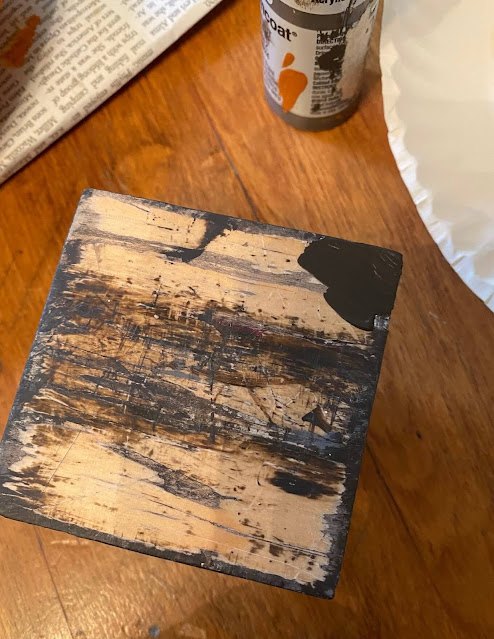
I brushed a small amount of paint on one corner of the layering block with a small sponge brush.
Then, I simply rubbed the layering block corner along parts of the edge of the pie tin. Until I got the hang of the layering block, I often had to touch up the faux distressing with a small brush and a bit more of the base color paint.

I glued a sawtooth hanger on the back of the pie tin with E6000.
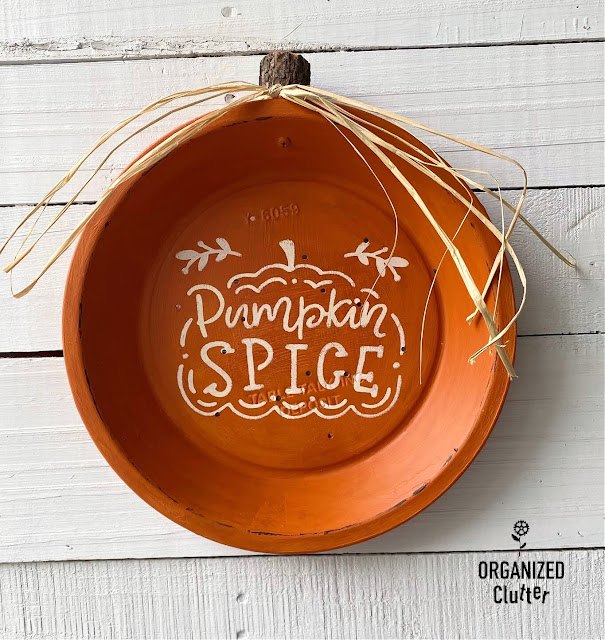
Lastly, I waxed the pie plate with Dixie Belle Best Dang Wax in Clear and tied a bit of raffia on the “stem”.
Her
Leave a Reply