
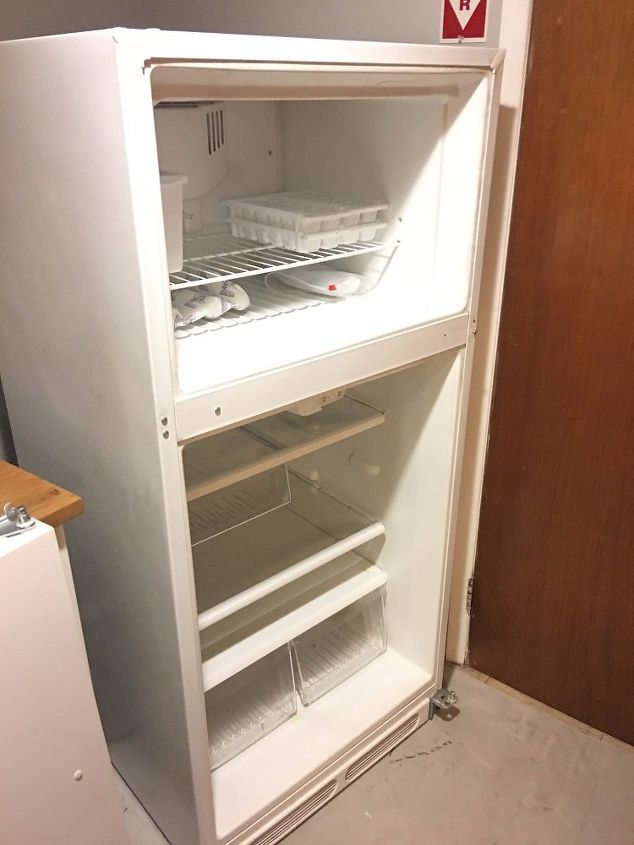
STEP 1: We started out with an all white fridge. The product states that if you’re painting an appliance there is no need for primer. I decided to follow the instructions, but I wonder if that’s why I had to apply 3-4 coats.
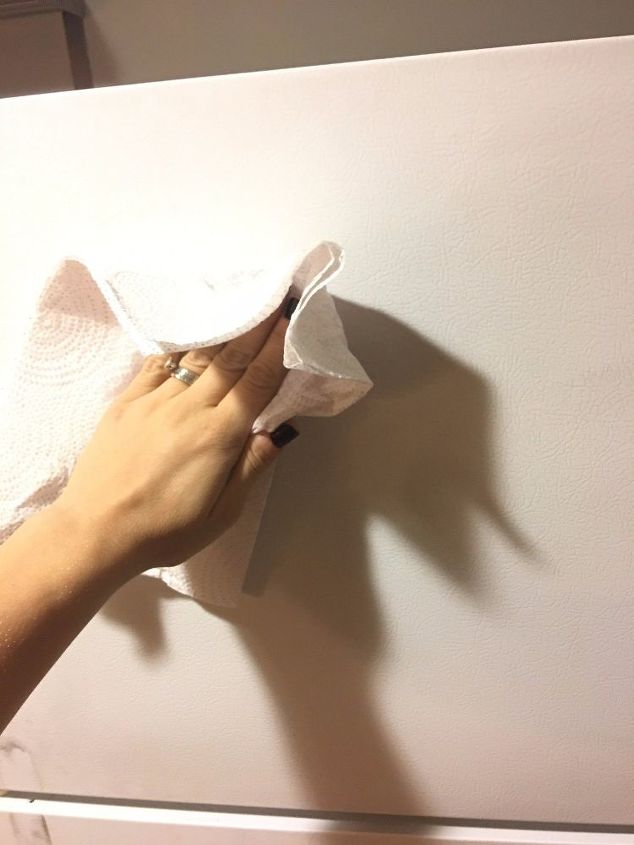
STEP 2: Next step was to clean the outside of the fridge thoroughly. I used a simple solution of vinegar and water. It removed a lot of the old grime that can burry itself into the little grooves of the fridge. STEP 3: Next I opened the product and poured a little into a paint tray. This is very stinky, so wear a respirator if you can’t haul your fridge outside!
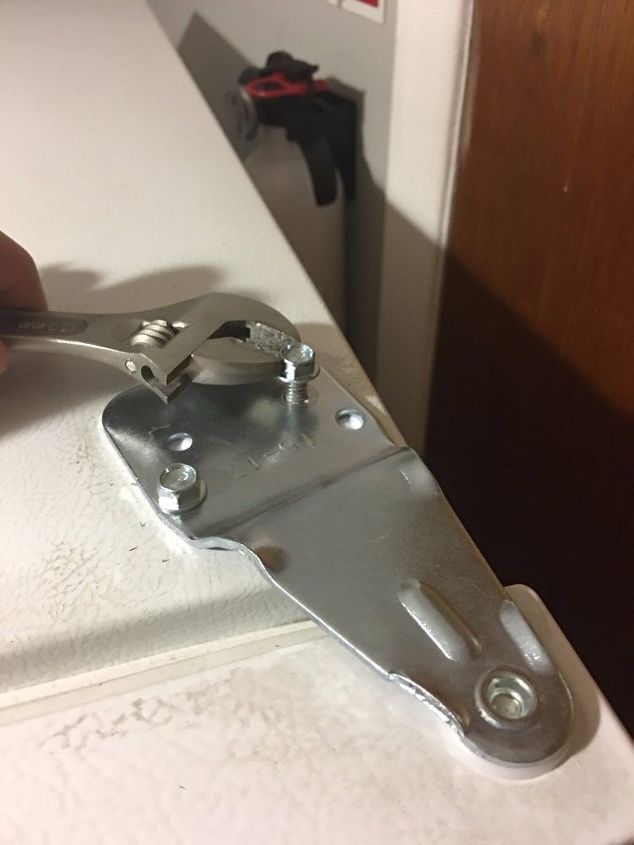
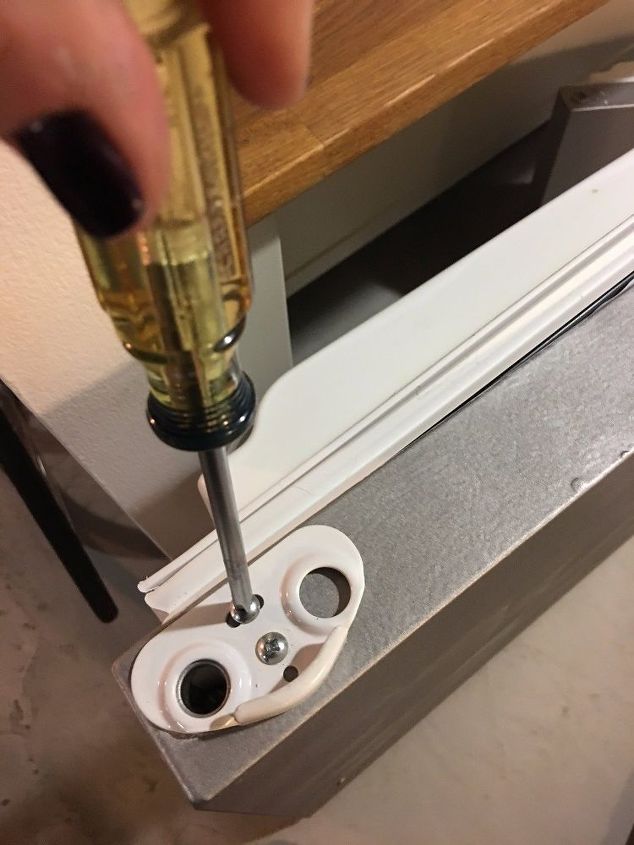
STEP 3: Remove the doors. Different fridges will require different tools for this step; I had to use both a wrench and a Phillips head screw driver. I put all the hardware to the side.

STEP 4: I removed the white handles and, instead of painting them stainless steel as well, I decided to paint them a glossy black. I set them aside to dry.
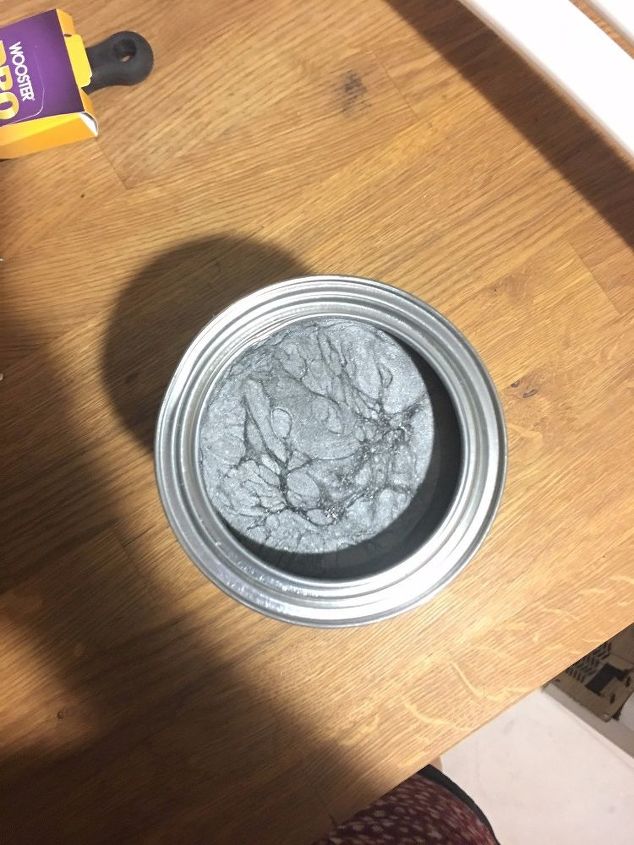
STEP 5: I was finally ready to paint. The product contains real stainless steel pigment, so that’s pretty cool! It’s a very stinky paint, so if you can’t haul your fridge outside, make sure you wear a respirator.
STEP 6: I started with my brush and trimming out all the smaller area around the open spaces.
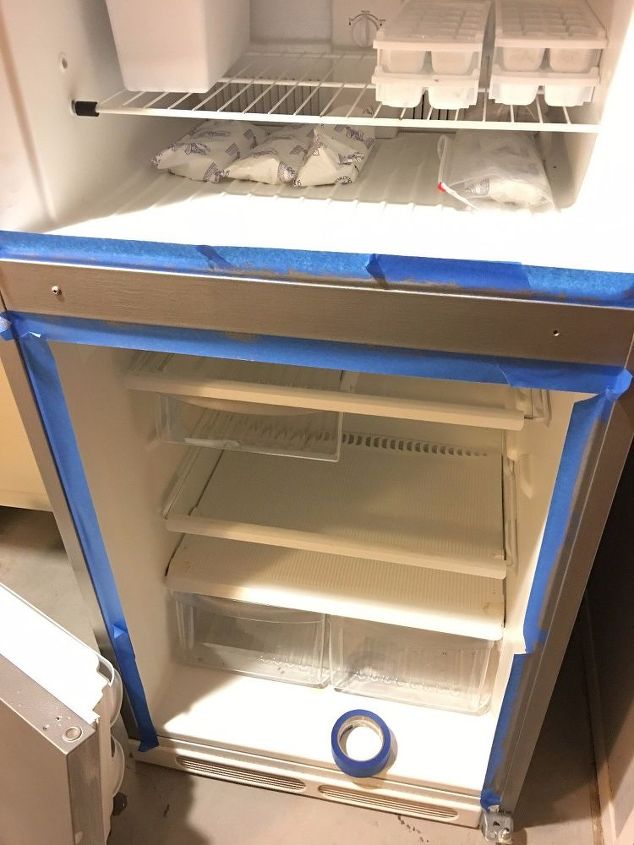
STEP 7: After attempting to just cut the paint, I decided to tape it off first and then paint the smaller areas. I wanted to see how meticulous I could get with this paint job; I didn’t want it looking sloppy.
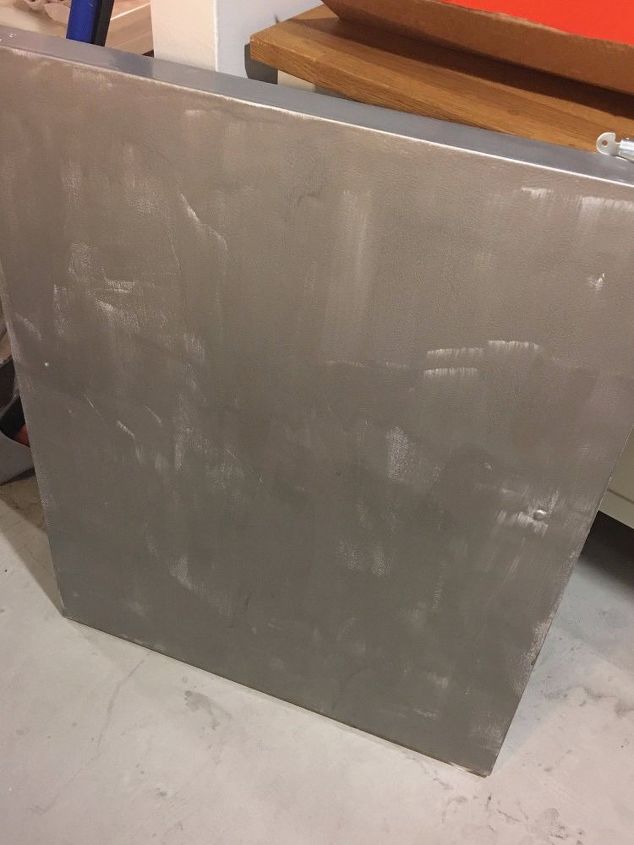
STEP 8: After 2 coats, this is what the fridge looked like. Since the instructions said it was an “easy single application” I was shocked to see it look this patchy. I decided to switch from a foam roller, like the instructions called for, to a regular roller. After I made this switch, the paint went on much better. Dry times also took awhile, so take that into account.
STEP 9: After about 4 coats, I put all the hardware back on, put the doors back on the fridge, and got ready to step back and take in handy work!
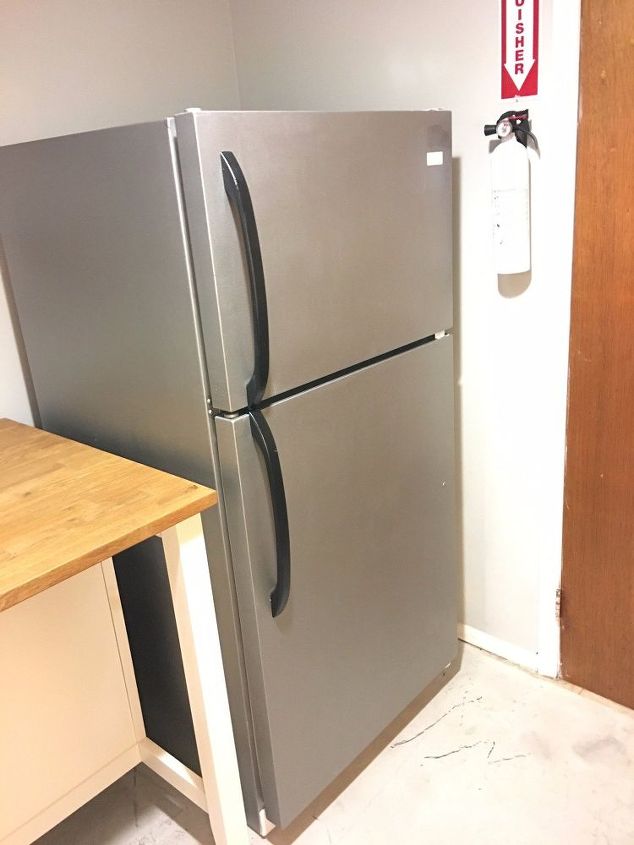
STEP 10: I put the handles back on and it looked great!

Leave a Reply