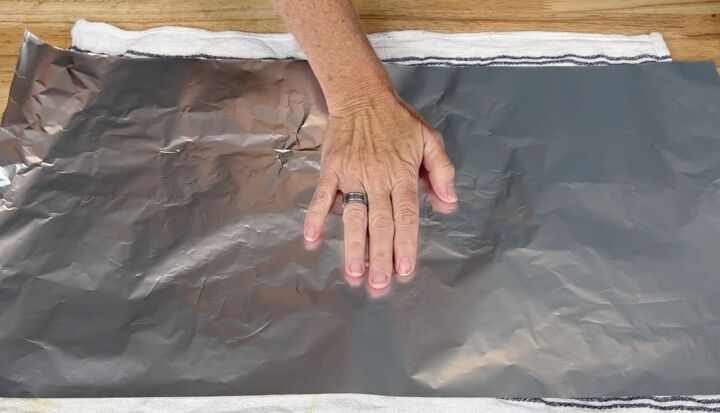
For this next hack, I’m going to show you a little ironing hack.

So as you can see here, the seam on this is sticking out and I need to iron it.

Once again, dry setting, no steam. I have this on the cotton setting or for whatever your ironing. Make sure it’s on the appropriate setting. Then, iron your piece.

The neat trick about using tin foil underneath or aluminum foil is that it irons both sides at the same time so I can get two done for the price of one.

Okay, so I’ve got a piece of tinfoil laying down to protect my surface.

I’ve got a little piece of paper and we’re going to have a little fun creating some art here.

I’ve also got a little piece of tinfoil here or aluminum foil. I’m going to put the shiny side up. I used a little bit of tape to keep it in place.

This is a hot pen. You use it to draw a design on the tin foil.

You can create anything you want. You can use this on paper or on wood.

When it’s done, we’re going to peel it up and see what it looks like.

You can see it and there you can see the fun artwork. You can frame this or you can do this on a larger scale. You just need the hot pen and the right foil for it and you can create lovely, lovely designs.

Next, we’re going to have fun with a little candle holder. We often have a lot of these plain and simple ones laying around.

To start, I got a piece of tin foil out and then the next thing I want to do is kind of measure it. I’m looking for the line here on the bottom.

I’m going to go ahead and go all the way around just so I know exactly how much I’m going to need and overlap is okay and mark it.

Then I’m going to unwind it again and measure it from the top. So again, lining up this empty space at the bottom and then kind of figuring out how far I need to go. It’s okay if there’s a little gap at the top.

To make the line to cut the foil, I just take the box or a ruler, line up the two dots and draw a line between the two. And then again down here, drawing the two dots together like so next what I’m going to go ahead and do is cut it. So I’m going to take this piece and cut the tinfoil.

Another tip, when you are cleaning wax out of candles, maybe you want to reuse thejar. All you do is take one of these wadded up pieces of tin foil, get it in there and rub around and it will take the wax right out of there. So there’s another little hack for you.

The next thing I want to do is I can leave it like this, nice and shiny, but I kind of like that mercury glass look. So I’m going to go ahead and crumple it up a little bit just to give it some texture.

I’m going to open it back up again just so I give it kind of some texture like that. Then I want to do is add some holes to it.

The next thing I’ll do is bring my candle holder back and I’m going to put the foil inside. You can choose whether you want the shiny side out or the matte side, but I want the shiny side out.

Once it’s in there, it kind of looks like this on the outside. You could mod podge this out if you want to make sure it sticks but it kind of gives you that nice crackly look.

Let’s go put it in the light and take a look at how it glows. It adds kind of that starry effect to it.

So many people don’t know this, but wrapping paper technically isn’t recyclable. Most wrapping papers are not. For my last hack I am going to use aluminum foil as wrapping paper.

I’m going to go ahead and measure up and cut the foil just like I would cut wrapping paper. You can use the matte side or the shiny side.

Then I’m going to take my container and wrap it just like a normal gift. The other great thing about this is you don’t often need a lot of tape when you do this.

You can add your bow to it or whatever you like to finish it off. Now, when it comes to bows, you can either use bows and then reuse them again. You could also use string or something else that’s recyclable.

I hope this inspires you to try some aluminum and tin foil hacks of your own and look at it in a new way.
I would love to have you stop by my blog Chas’ Crazy Creations for the full tutorial as well as sign up for my latest creations, posts, recipes, exclusives, and more…
I would love for you to subscribe to my YouTube channel to see more of my crazy creations – https://www.youtube.com/c/chascrazycreations

Leave a Reply